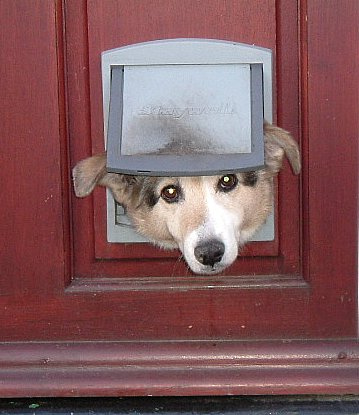
Doggie doors can be a godsend for people with dogs – especially for those who own multiple dogs. The doggie door allows dogs the freedom to go outdoors whenever they wish whether it is to let them out for a bathroom break, play break or even just for some fresh air. Not only does the doggie door allow your dog the freedom and self-reliance to do as he pleases, the doggie door allows you the freedom to continue working around the house, or better yet sleeping.
Doggie doors are an amazing asset and not too difficult to do it yourself – if you like taking on do it yourself projects around your house. Installing a doggie door will be the beginning of a time freedom for you, and a personal growth for your dog as he learns that he can go in or outside by his own choice.

Before Your Start
Before you go and start cutting a hole in your door, there are a few supplies you will want to help you complete this do it yourself project professionally. This task may be moderately small, but you will be affecting your home so you want to make sure you do it correctly!
The tools you will want to have on hand are:
1. Doggie Door Installation Kit
2. Jigsaw
3. Drill
4. Pencil
5. Tape
The Perfect Location
Once you have the necessary tools to complete your doggie door installation, it is time to figure out where you want to install it! Unless you have an invisible fence installed around your house, the safest place to install the doggie door would be on a door that leads to your backyard. Wherever you choose to install it, you want to ensure that your dog is able to be contained and safe from getting away or taken by someone.
Open Doggie Door Installation Kit
After finding the door you want to install the doggie door on, it is time to grab the doggie door installation kit and take out all the belongings. Most kits will come with everything you need for the door, the actual door, hinges, frames, template and instructions.
Test Location
Before cutting the area for the door, you will want to test out the location to make sure it is exactly what you want – once you begin cutting there is no turning back, unless you buy a brand new door! Take the template for the doggie door to your door. Trace the template with your pencil and make special marking where you will need to drill holes to attach the hinges. Once you are sure the door looks right, and not crooked and you can begin.
Puncturing Your Door
Following the instructions on your doggie door, begin drilling where specified and then use your jigsaw to cut out the door template that was traced onto your door. Take your time and do this slowly and accurately.
Installing the Door
After cutting the door out of your door, it is time to place the doggie doorframe in the open area and lock it into place with details provided with the doggie door kit. Depending on the door you purchased, you may need to install each piece, the frame and the actual rotating door with hinges. After this is done, you have finished installing the door – now you just have to teach your dog how to use it!
Susan Wright is a trained veterinarian of more than a decade and is a freelance writer sharing tips that help keep the cost of owning a dog lower
How To Install A Doggie Door