

While it’s one of the most versatile products for cake decorating, fondant presents many challenges for the beginner. It’s a medium that conforms to the cake, creates a beautiful, porcelain-like finish and can be cut and shaped endless ways to create fabulous decorations.
Yet, fondant reacts to weather and can dry out, be sticky, rip and get a look referred to as elephant skin. When mastered, the cake finish will appear flawless, but many different factors affect the end result.

Here are the most common problems faced when working with fondant and how to overcome them:
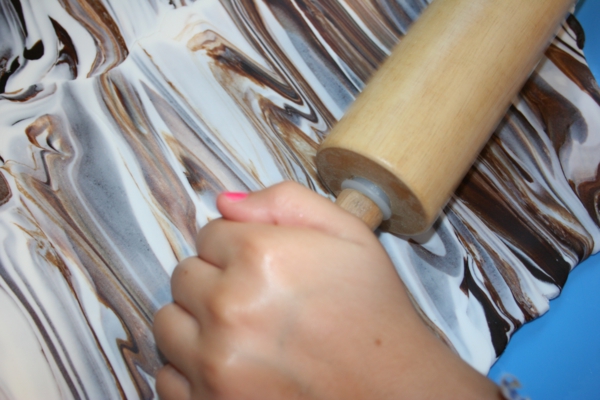
Cracks or “elephant skin”: Cracks are the result of the fondant drying out. Commercially made chocolate based fondants do not exhibit this problem. To prevent cracks from occurring, polish the fondant with the palm of your hand periodically while rolling it out. Working quickly to cover the cake will lessen the chances of them developing.
Bulges: Bulges occur in the middle of the sides of the cake when the cake settles and pushes the filling outwards. To avoid this from happening, a thick dam of icing should be used to keep the filling in place. If you refrigerate the cake after filling it, the cake will have time to settle. Then when you are ready to frost and cover it with fondant, the filling will have already done its spreading and you won’t experience it again after the cake is covered.
Air bubbles: Air bubbles occur when the fondant is kneaded instead of massaged and when the weather is warm. When softening fondant to cover a cake, push it into itself over and over again. Don’t fold it over and use a kneading action as that incorporates air into the fondant. When the fondant on the cake develops air bubbles, they can be pricked with a pin and smoothed out. If you insert a skewer in the top side of the cake all the way down to the bottom, air will have a place to escape to prevent more bubbles from developing. That hole can be cleverly hidden by decorations.
Creases on the cake sides: One of the most difficult things to master is achieving smooth cakes sides with fondant. To do so, place the fondant over the cake and move the excess close to the base of the cake. When a lot of excess fondant pulls, the weight causes rips and cracks and it becomes difficult to adhere the fondant to the side of the cake without having creases develop.
Homemade Fondant vs. Commercially Made Fondant
There are some die hard homemade fondant makers out there. Many do so to save money. But, if you make cakes regularly, the money saved is used up in time. It really depends on how much your time is worth to you.
Marshmallow fondant is the favorite recipe and I’ve used it on a number of occasions. The downfall of making your own fondant is that you can make the same recipe the same exact way and have it come out differently depending on the weather and the temperature in your home. In warm weather, it becomes very sticky and develops many air bubbles.
I prefer to use commercially made fondant. Chocolate based fondants taste delicious and do have the advantage of flexibility which allows the beginner to smooth out mistakes; however, they can be disastrous in warm weather when the chocolate melts, oils come to the surface and it rips very easily.
Rolling the fondant very thin gives you the best results. The application will be easier, you’ll experience fewer rips and bumps and because many don’t like eating fondant, it will dissolve into the buttercream icing and become almost imperceptible to the pallet.
Don’t expect to master fondant application the first time. It takes practice like everything else that’s worthwhile. But, when you do get used to using it, the design possibilities are endless.
Theresa Happe is a cake decorator and creator of Cake Decorating Corner and Cakes We Bake, websites dedicated to cake decorating. She is also a board member of the Sugar Arts Institute, a new university dedicated to cake decorating and founded by reknown cake decorator, Julie Bashore.